
Designing sharp assets is crucial to us, it's a statement of our commitment to creating quality products. To achieve this, we decided to transfer all our renders to Figma and redraw them from scratch. But for the purpose of this guide, we will use Fey's landing page as an example.
Design
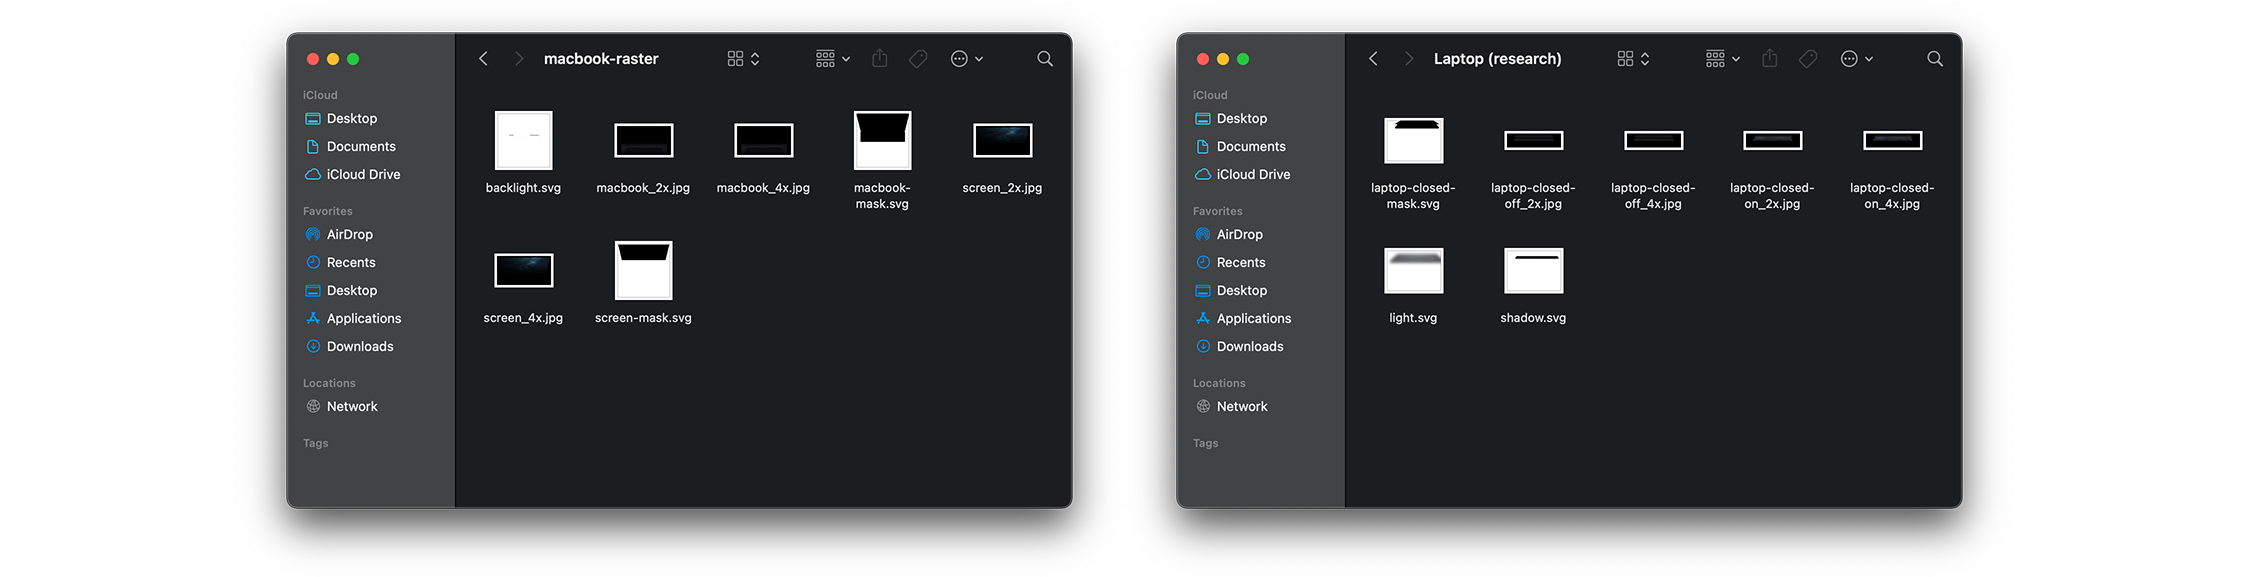
At first, we thought this may be overkill since we'd likely use raster assets on most of our landing pages. However, having control of the colours and the silhouette of the images would allow us to create transparency on JPGs by using vector masks.
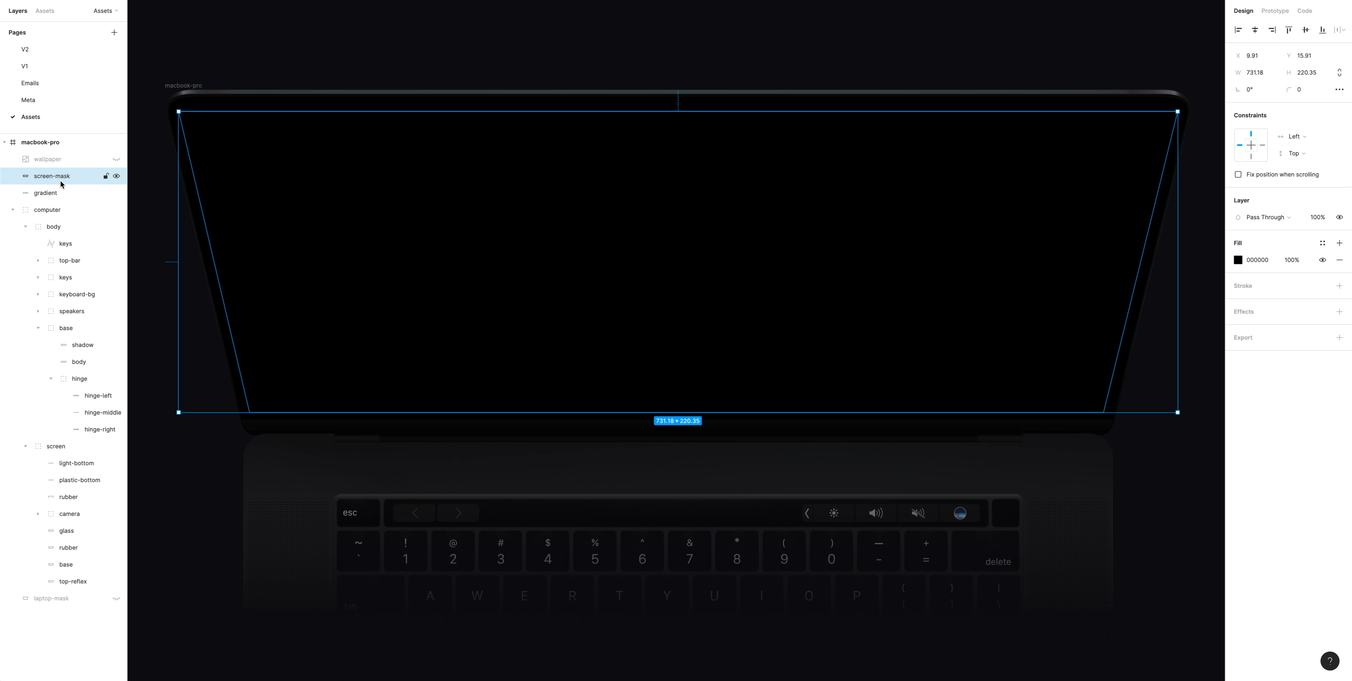
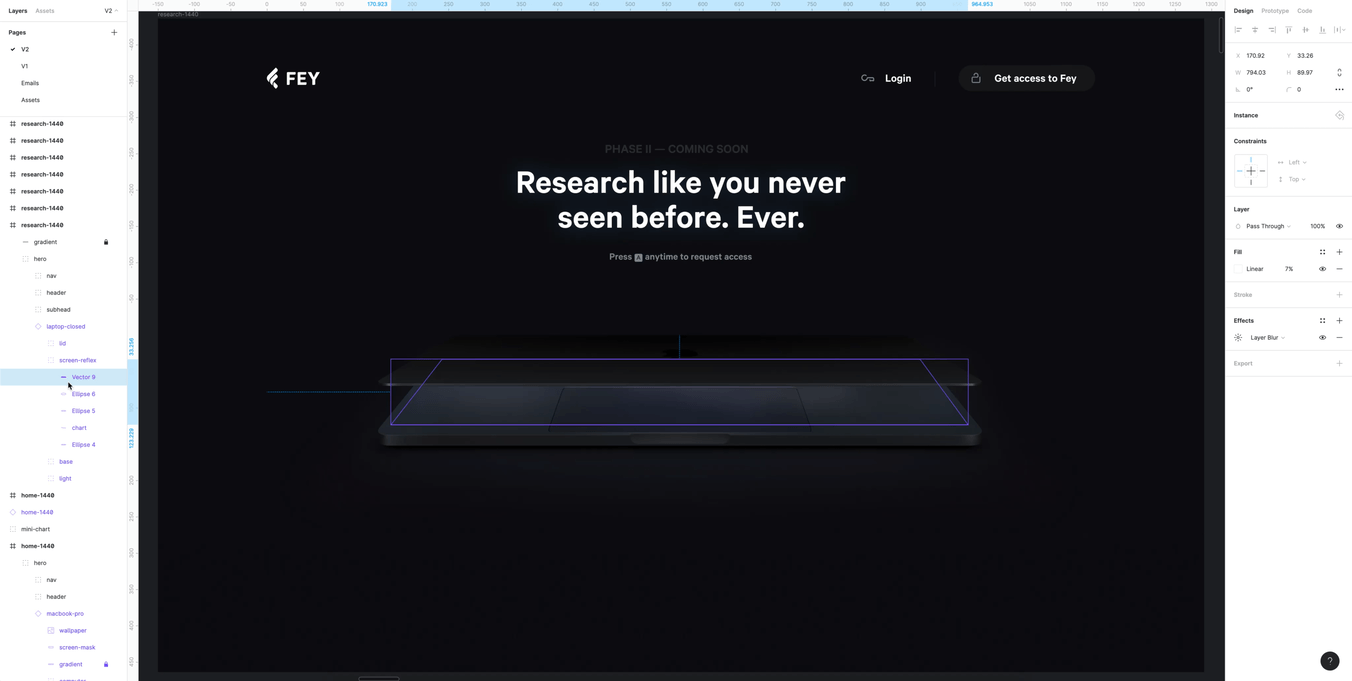
Making transparent images with PNGs is pretty straightforward, but this format can become quite expensive on the web — especially for slower connections — hence why we avoid it as much as we can. Instead, we use the silhouettes directly from the aforementioned vectors to create an SVG mask. These files are usually smaller than a few bytes, and when combined with JPGs containing black backgrounds, we can achieve the same result as having transparent PNGs, but at least 3 times lighter. Importantly, black backgrounds have less data, giving us some headroom on file size to retain image quality.
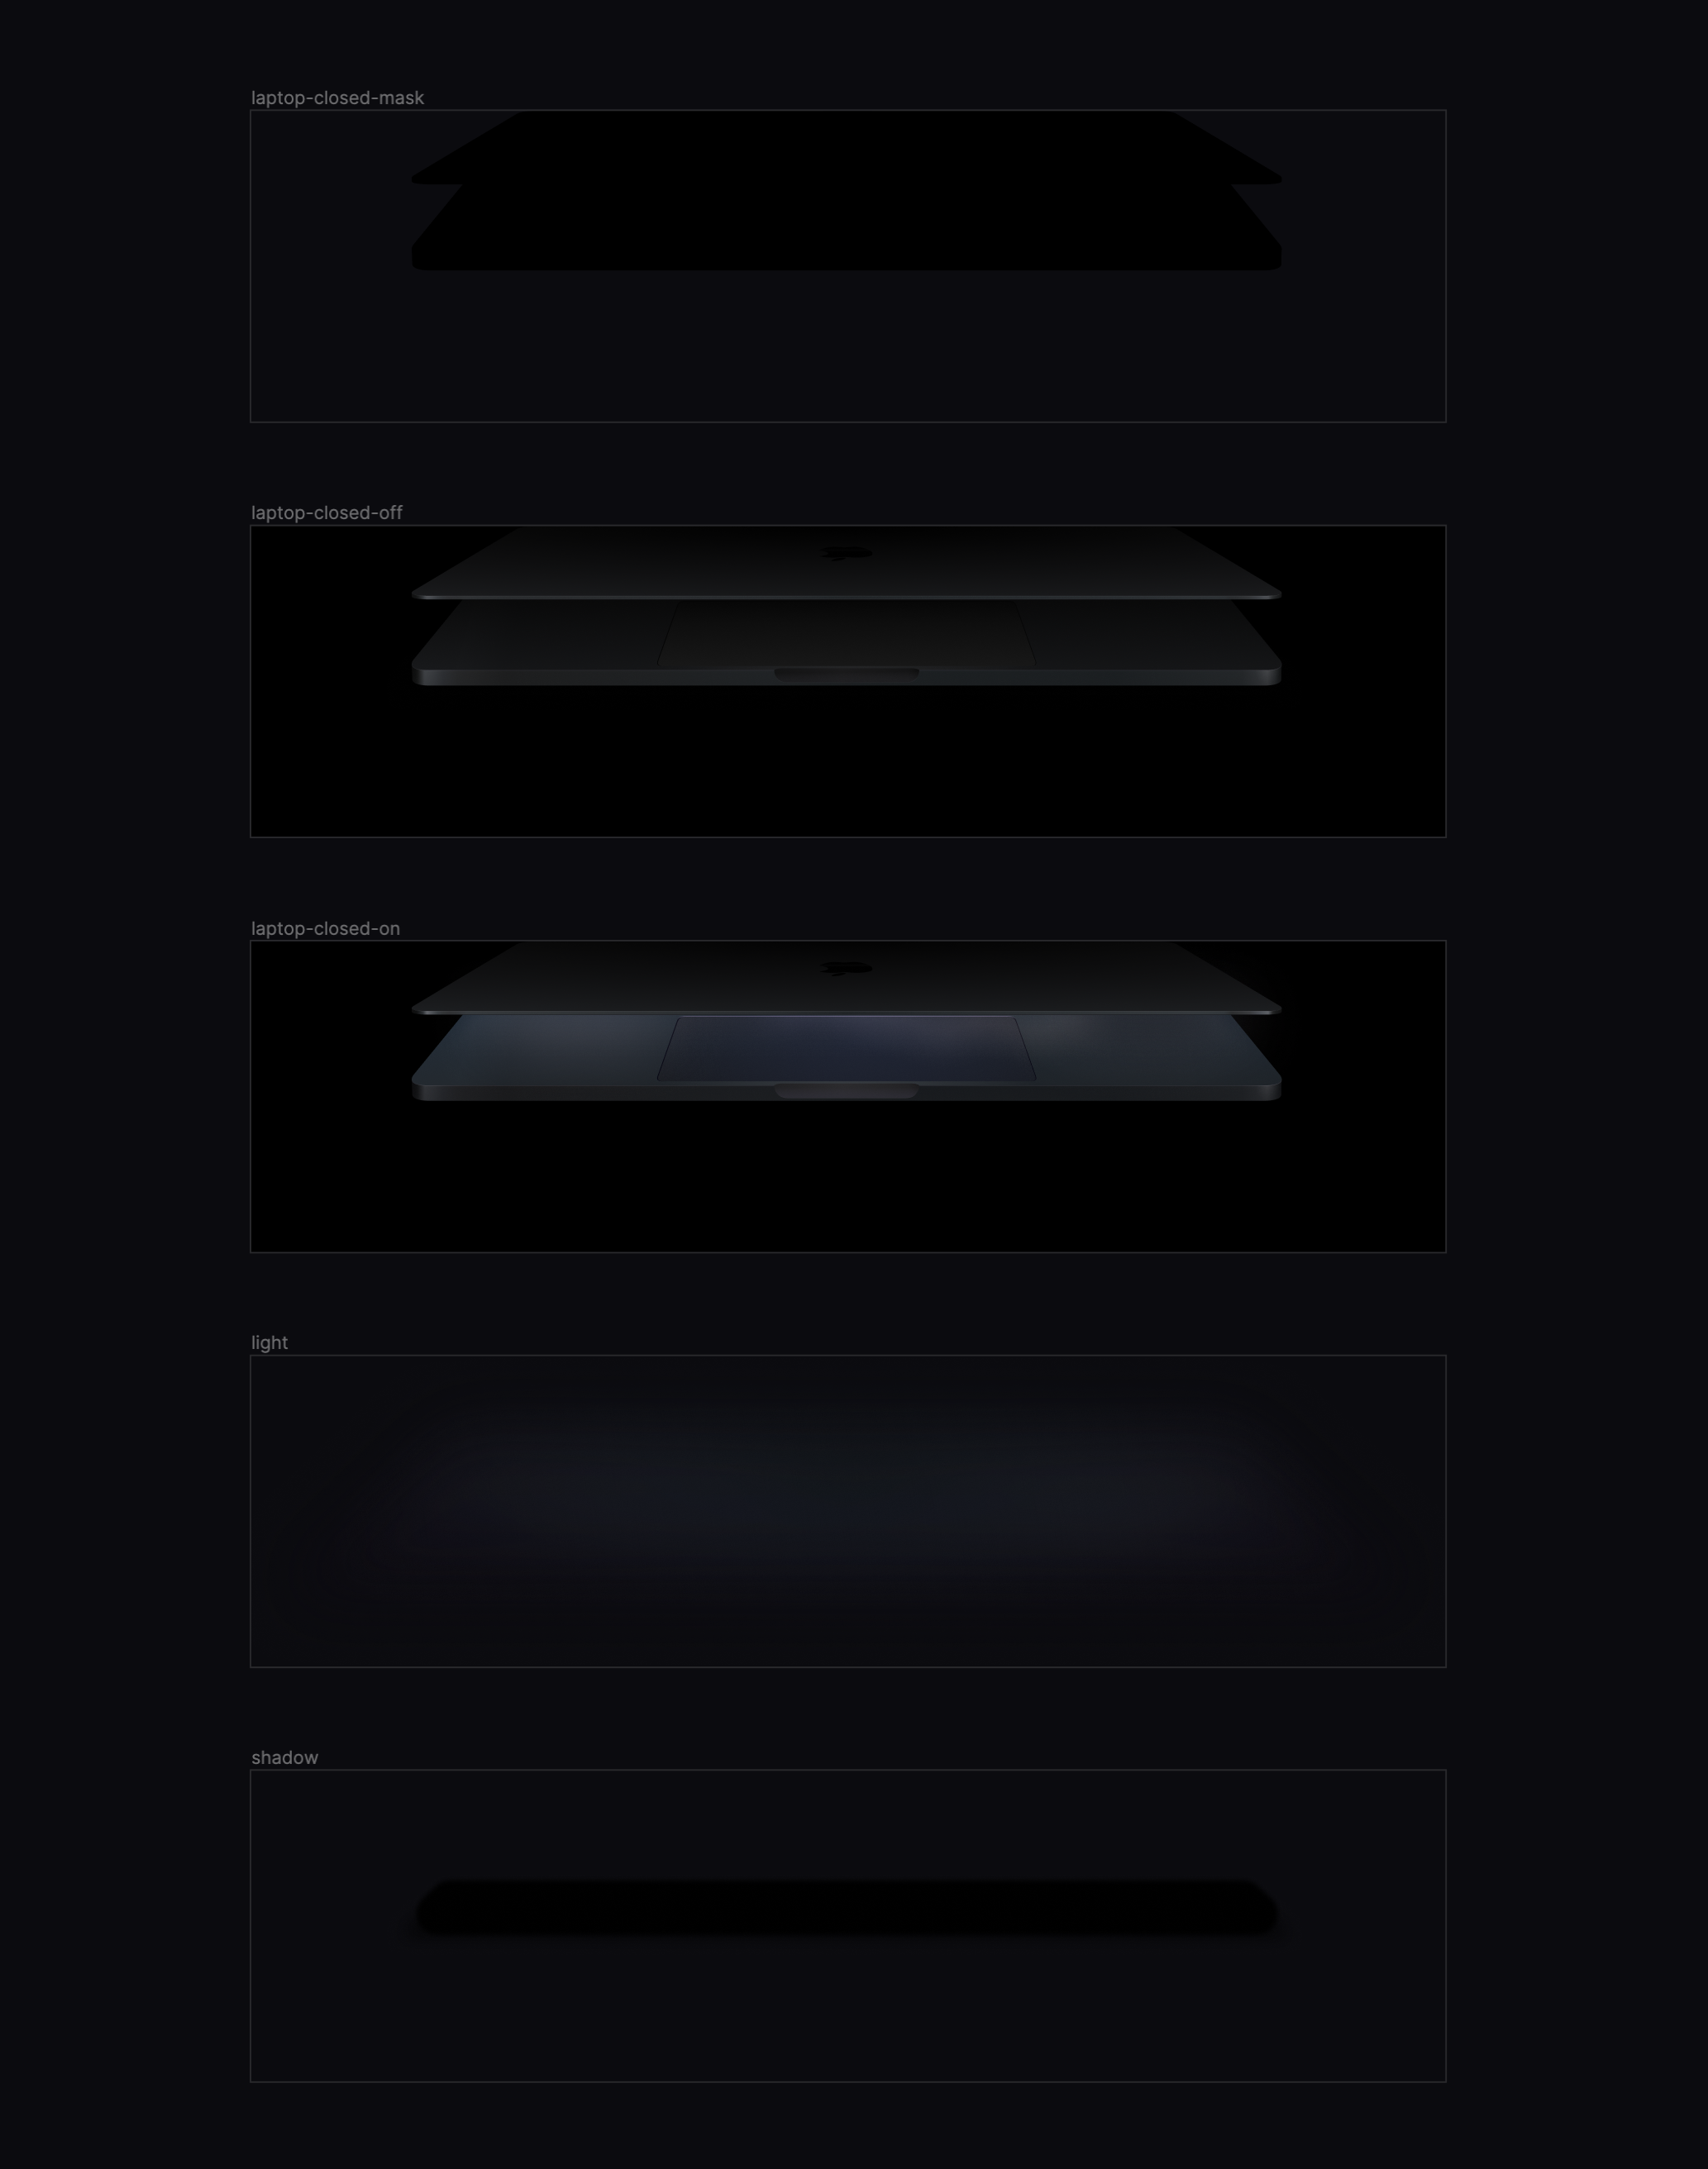
When combining these files the results can be amazing, especially because we can control the load order, creating convincing animations that look like a video — when in fact, are just images loading one after the other.
Masking
Masking an image is possible with the mask-image CSS property. With mask-image, the process of implementing a JPG with an SVG mask becomes straightforward as you only need to add a single line of CSS and reference the SVG.
We initially attempted using pure SVGs, but due to the animations, we found this to be far too heavy for the page. The weight of the SVGs would cause the browser to slow down and stutter as it tries to render the image in real-time.
1import styled from 'emotion/or/styled-components'2import Image from '../../components/Image/Image'3import LaptopImage from '../../images/research/laptop.jpg'4import LaptopImageMask from '../../images/research/laptop-mask.svg'56const LaptopImageMasked = styled(Image)`7 mask-image: url(${LaptopImageMask});8`9function ResearchHero() {10 return <LaptopImageMasked src={LaptopImage} alt="Fey Laptop" loading="eager" />11}
Exporting
As mentioned earlier, solid-coloured images have less data, so we keep gradient-heavy images containing shadows and light in their original SVG format. Thereafter, combining the files on implementation would create the same uniform result as having a single image.
We also try keeping any text and icons from those images in their original vector format, that way they are as legible as possible while keeping the file below 30kb.
Conclusion
It can be a lot of work, but the result speaks for itself. We achieved sharper images with significantly decreased load times due to the file format and other compression techniques, such as device detection and image optimization.
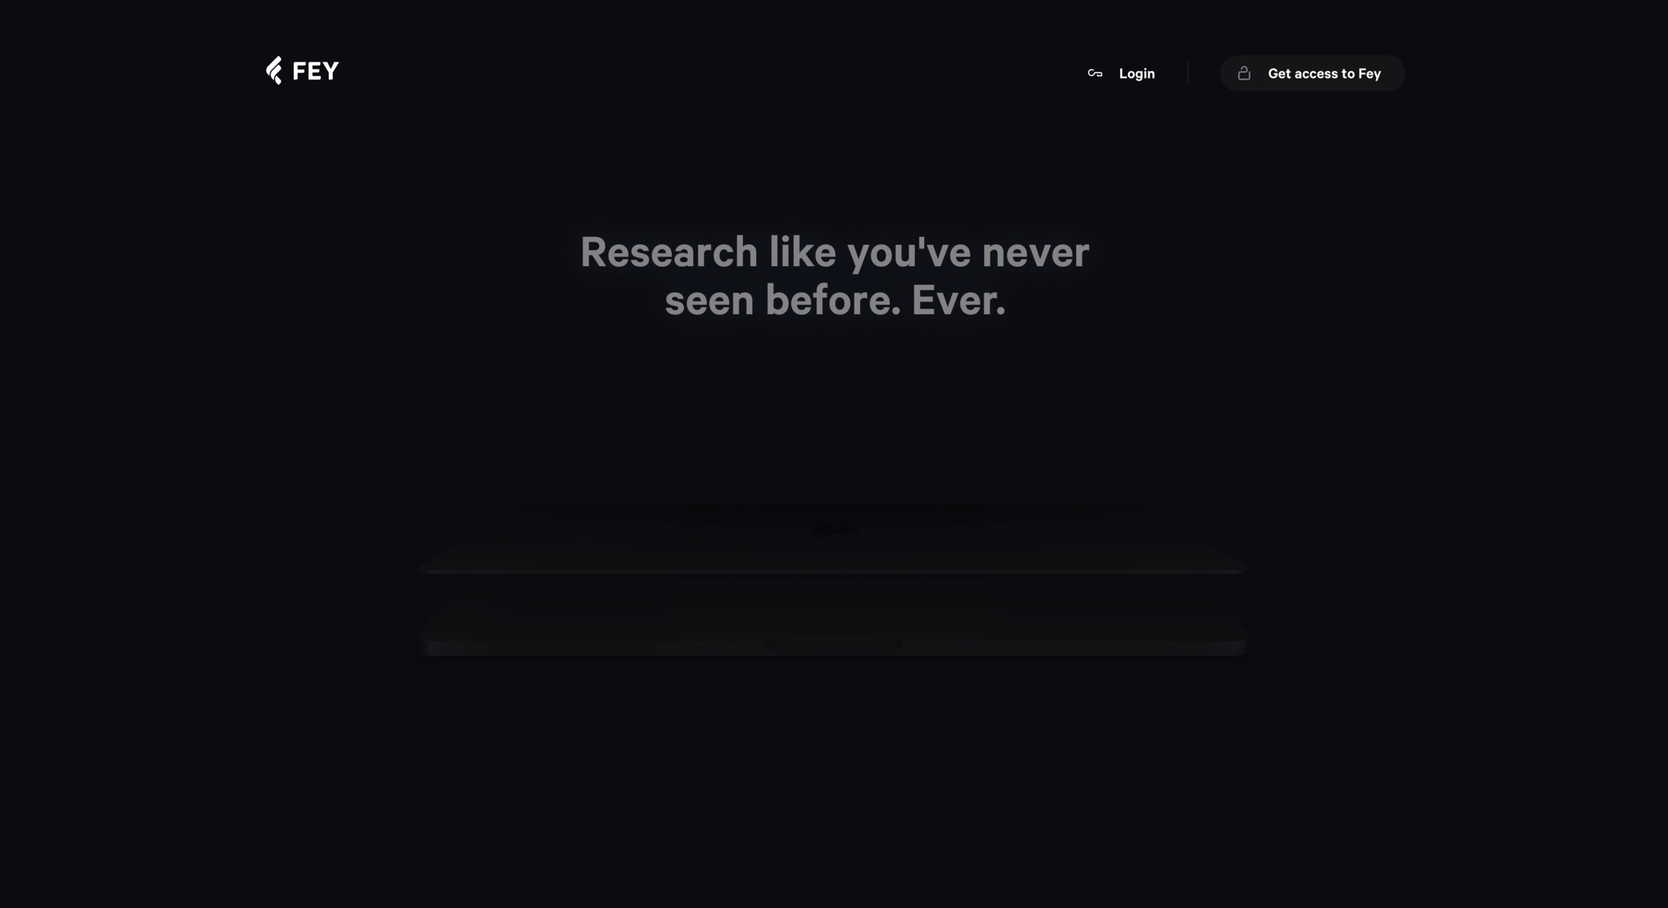
Check out the results on feyapp.com

